Thursday, January 1, 2015

Snow White

"Make a wish into the well, that's all you have to do, and if you hear it echoing, your wish will soon come true."
-
I hope you all had a wonderful holiday season! 2014 went by extremely quickly. If I didn't know it was January, and you asked me a few days ago how long was left to the year, I probably would've guessed a few months. Anyway, good luck to you all in the new year!
-
Recently my blog had it's 1st birthday! Maybe I'll do a contest and or giveaway for this occasion? I'm still trying to decide on what it would be, but it's very likely to happen.
-
Seen above is a photo I took of my lovely little sister (as most of my photos are) with my new lens!!! I am in love with it. Very in love. I'm thinking of uploading more photography in the upcoming months if you guys are interested in that:)

Stay minty,
- Juli

Wednesday, December 17, 2014

11 Last Minute DIY Gifts

11 Last minute DIY gifts

Hey hey hey everyone!
Today, -seeing as I'm a horrible procrastinator myself- I thought I'd bring you guys a nice list of last minute gifts for the holidays! DIY's even. The holidays always seem to sneak in super quick to me- like I'm pretty sure Halloween was last week.
So anyway, I was scrolling through blogs and pins upon pins, and here's what I came up with:


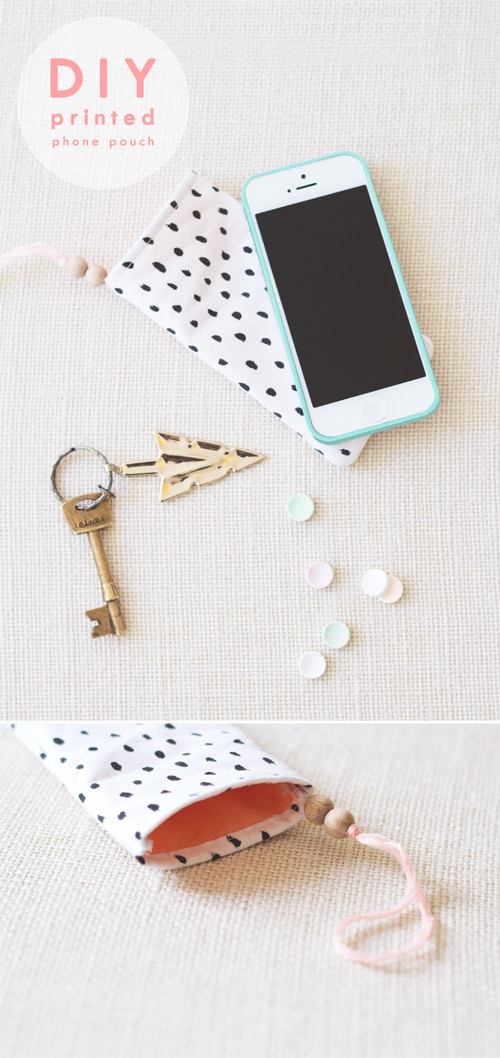
DIY printed phone pouch
You could customize this for most anyone you know!

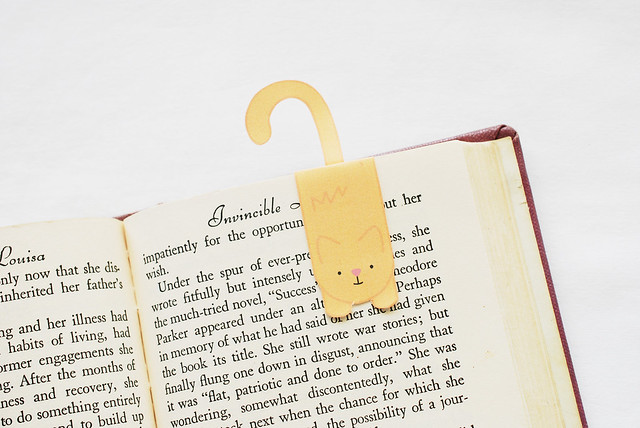
Kitty Magnetic Bookmark

For the reader in your life. These are so simple- and it's a printable!
via Wild Olive

A Simple Clutch

I love these because you can use fabric you have lying around at home, or choose the perfect one for your receiver!
via I Heart Naptime & girl. Inspired

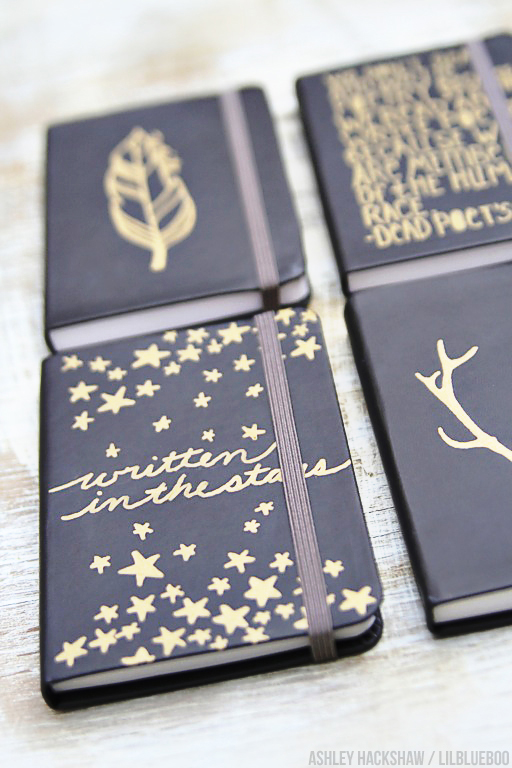
Simple Sharpie Journals (+ matching gift wrap!)

Guys. I am literally obsessed with these.
All of them. lovelovelove them.
If you have a writer or artist in your life these would be a fantastic gift!
via lil blue boo

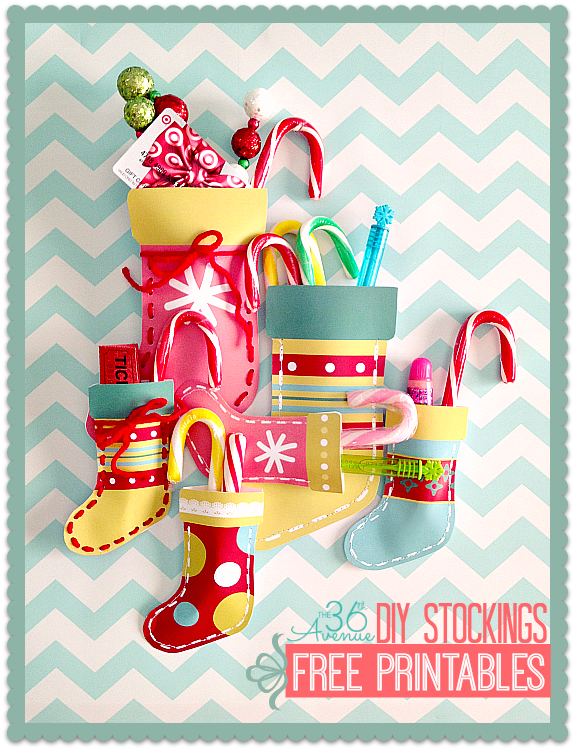
DIY Christmas stockings


These stockings are seriously adorable, they remind me of something my grandma used to
give my sisters and me each year. You could even do them like Russian nesting dolls and put a small one inside a larger one. More stocking stuffers for everyone!
via The 36th Avenue

DIY Mini Banner

You could make these with the persons favorite quote to give a really personal and thoughtful gift!
via a little birdy blog

DIY Hot Cocoa Ornaments
These ornaments are so great. I'm definitely making these for some of my friends.
(Hopefully they're not reading this right now)
via Bubbly Nature Creations

DIY Map Necklace
This is great for the traveler(or wanna be traveler)!
via the sum of its parts

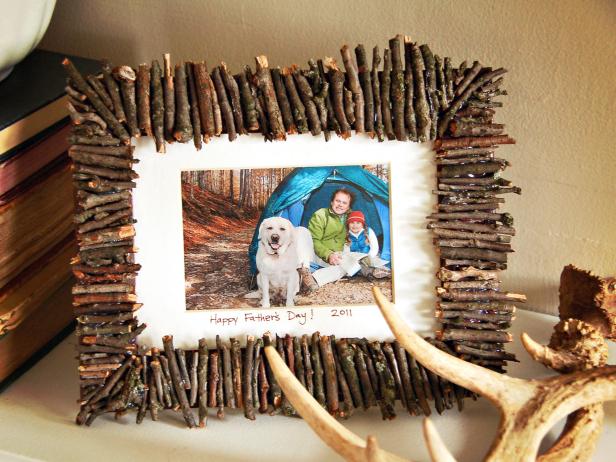
DIY Rustic Frame
I came across this and instantly planned on making one for my parents.
I know it says fathers day, but I know either of my parents would love it!
via HGTV 

DIY Finger Knit Scarf

How about a nice scarf for the cold months?
via Just Pepperminty

DIY Chalkboard Mug

I don't know about you guys, but I'm kinda obsessed with how cute this is.
via Wit & Whistle

Alrighty, that's what I've got! Hopefully it's a little helpful to some of my fellow procrastinators.
Enjoy your holidays!

Stay Minty,
- Juli

Wednesday, November 19, 2014

DIY Fandom Totebag

DIY Fandom Totebag


Hey guys, Long time no see! (I say that way too much)
So I haven't posted this here yet, and I thought you guys might like to see it! 
Me and my sister made it for a friend quite awhile ago and I took pictures, wooooo.
Also if you haven't seen/noticed yet, I redid my design awhile ago, simpler is kinda my thing right now haha.
Anyway, on with the tutorial


What you need:
Tote bag // paint brushes // fine tip sharpie // cardboard // acrylic or fabric paint


Step one: 
Start off with a plain tote bag and wipe it clean with a dry towel or rag. I got mine from Walmart in the arts and crafts section for about $3


Step Two:

I did a sketch of the Hogwarts castle (Harry potter is liiifee) on mine and inserted a cardboard box so paint wouldn't soak through. You can freehand something, or do a quick google search to find an outline of what you want. (If you do that, just print it, cut it out with scissors or a craft knife and trace around your outline with with a pencil.)


Step three:
With a small paint brush do a quick outline of your sketch- it doesn't have to be perfect, you can touch it up later!


Step four:
With a larger brush paint in your outline. Near the bottom I added a bit of water to my paint to give it a bit of a washed/grey feel. 
You can now go around your edges to fine tune any mistakes you might've made, if you haven't made any you can move on!


Step five:
I decided to add a favorite quote of my friends- "It does not do to dwell on dreams and forget to live" 
Again, you can go online and find an outline of a banner and cut and trace it onto your bag. Once you fill it in, let the paint dry before writing on it with a pencil. Using a small brush (or fine tip sharpie) you can add your quote


Aaand that's it! 


Just let it dry, then flaunt it around! It's great for carrying books, an extra jacket, your laptop, wallet, anything that fits!
-
I've got a couple post ideas actually, so that's good news;) 

Oh and are any of you guys doing NaNoWriMo this year? Curious if there's any fellow writers around here :)

Stay Minty,
-Juli